
We have a card table that belonged to my late grandmother. Well, it's pretty old - - and has some scratches in it. I like having a card table, but I really would like it to look nicer. I was putsing around on Pinterest and I found this craft idea! The original idea came from The Bearded Family's blog. Here's what I did with mine!
What you'll need
- Card Table
- Vinyl Tablecloth
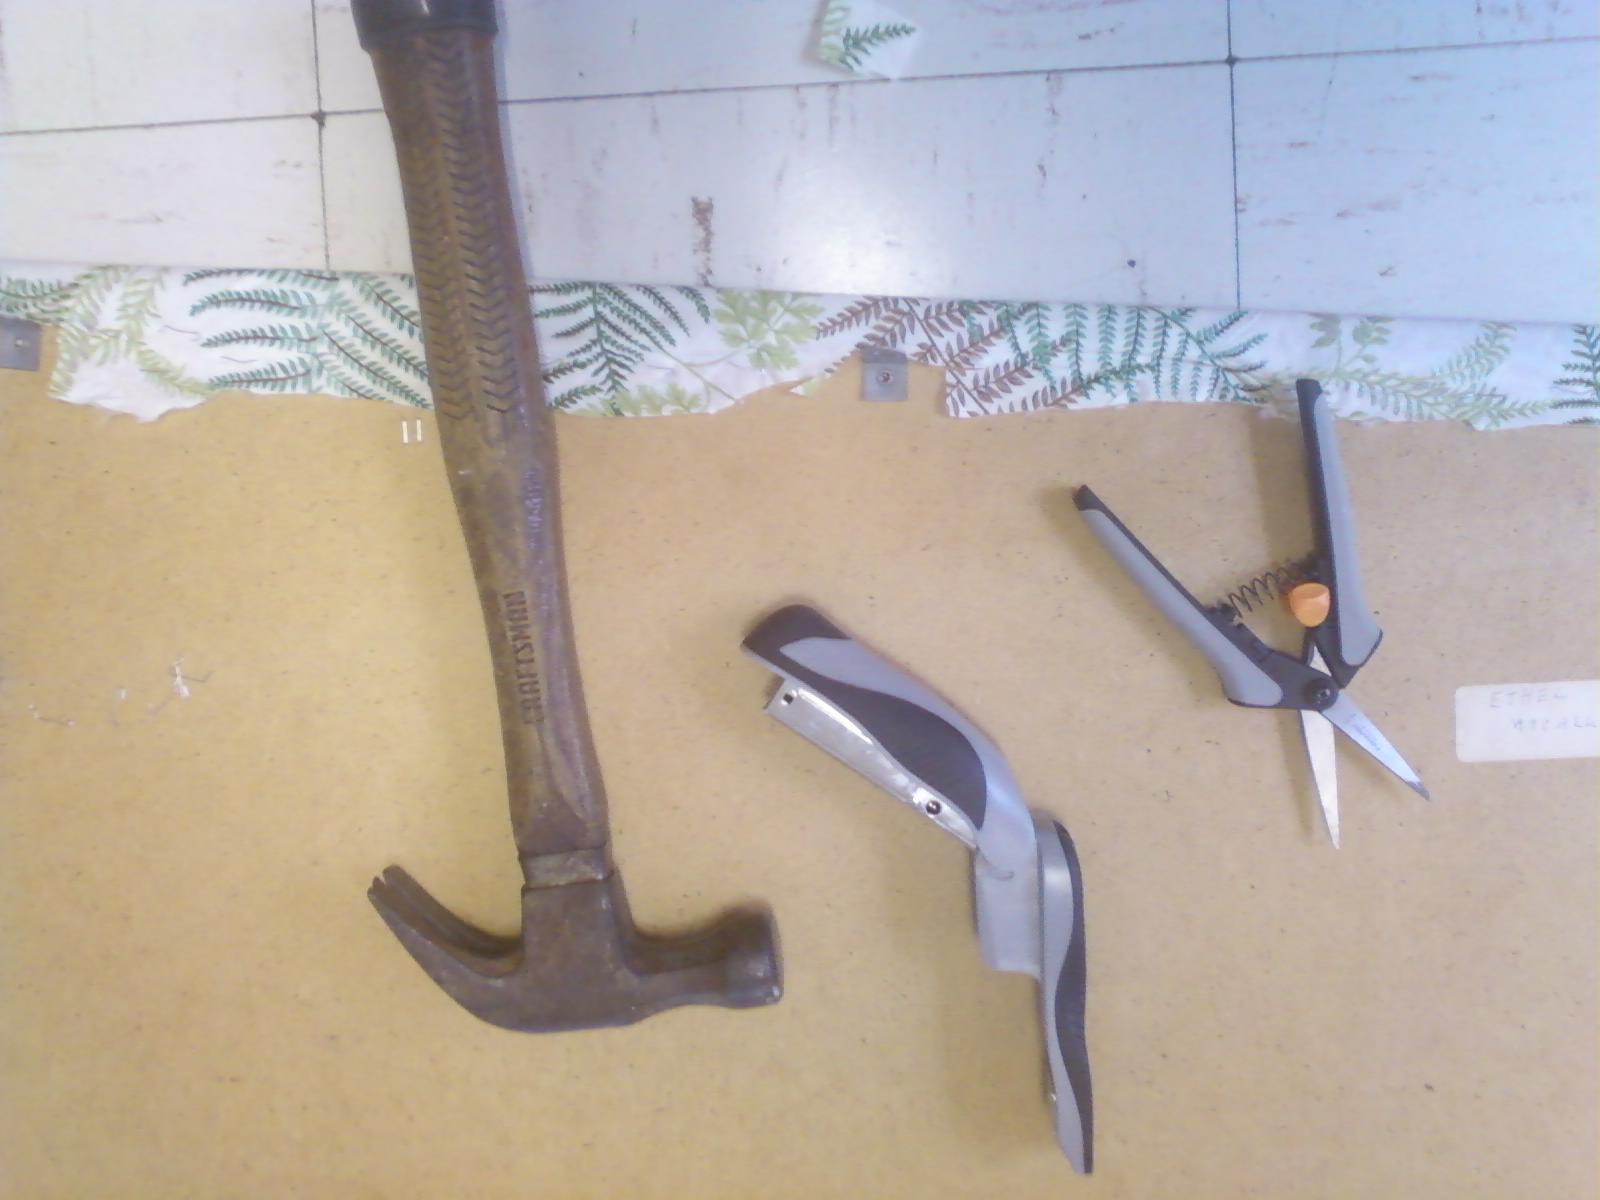
- Staple Gun (and Staples)
- Scissors
- Flathead Screwdriver
- A big open space (the floor works)

Step Two - - Take out the screws


Step Four - - Lay out your tablecloth

I bought my tablecloth for super cheap at Walmart... also check the Christmas Tree Shoppe!

Step Five - - Staple while pulling tight
This is the trickiest part of the whole process. You want to staple the edges of your tablecloth right next to where the original tabletop was stapled. I used a normal paper stapler, and it was difficult. Not all the staples held, and I tried hammering them in but that didn't always work either. I would have used a staple gun, but I couldn't find staples that were short enough to not go through the whole table.
Start at the edge of your table, not at a corner. Go all the way along the edge with your stapler.


I went from stapling one edge to stapling the adjacent edge (skipping corners - - I saved those for last). This worked well when it came to pulling the tablecloth tight. You don't want any wrinkles!!
To do the corners, what you want to do is start at the very edge of the corner and pull the cloth tight with one hand while you staple with the other.

When you have that first staple in, make a cut next to the staple (not too close, and not too far). This will allow you to pull the middle of your corner straight without creating layers that a normal stapler can't go through.

Next, pull tight and staple again right in the middle of your corner.


Staple the last end of the tablecloth. Cut off the excess cloth. Don't cut too close to the staples that you have made. You might also want to put in some more staples around the corner.
Step Six - - Reattach the frame

If you took it off, you can put it back on! Screw clockwise this time (righty-tighty).
You're done! How did it turn out? Send me a picture, leave a comment!


No comments:
Post a Comment