Showing posts with label Stewardship. Show all posts
Thursday, April 17, 2014
Hardest Job in the World??
There was a video that went viral the other day about the job of a mother - - and how it's the hardest job in the world. It was a cool video, actually. Very clever. But it has sparked a lot of conversation about whether or not mothering truly is the hardest job in the world?
I've actually been thinking about this question for a while now - - a friend of mine had posted an article on Facebook that questioned this thesis that being a stay-at-home parent is not actually the hardest job in the world. I didn't read the article, but I read some of my friends' responses to this post, and was quite insulted by what some people had to say about what I do.
Here's the thing: Of course mothering is not the hardest job in the world! Duh! There are people in the bonds of slavery in our own country. There are children working for pennies a day. I have it much better than a lot of people. But I think what people are trying to say when they state that parenthood is the hardest job in the world is that it's harder than you might think.
There are so many rewards to mothering, and I don't think anyone would argue with that. I don't think I have to even mention how it feels when my son calls me "mama" or when he walked for the first time, or the joys of teaching them about Jesus. Being a mother is so very rewarding, and it's the highest calling I have. But the rewards don't take away from how difficult my job is.
What makes mothering hard is that people constantly need me. There is very little time to care for myself, because I'm caring for my adorable little redheads.
What makes mothering hard is the physical reaction that only I have to my kids. There are mothers who breastfeed until their nipples bleed (admittedly, not I!). When my kids cry, it physically hurts me. I delivered these children, and my body will never be the same. It still is painful to do some simple things. Postpartum depression sets in and I'm gone for the day. Stay-at-home dads can't even relate to that.
What makes mothering hard is the sleepless nights. Last night my OLDEST son was up at least once every hour. When he's not up, the Peanut is up. When they're both sleeping, I can't because I'm waiting to hear one of them cry, or worrying about how to pay for college.
What makes mothering hard is the tremendous pressure I am under. There are pressures to choose the right foods, discipline techniques, schools, toys, books. Pressures to raise my boys, keep them alive, teach them to love Jesus, and help them become the men they are supposed to grow into. I can't imagine a pressure higher than that.
I love being a mother, and I am rewarded {almost} every day by my kids. But don't ever discount what I do, and don't pretend that you have any idea about how easy or hard my job is. If you do, just know that I'm sleep deprived and could at any moment burst into tears or slap you across the face. Because I'm a mother.
Wednesday, April 16, 2014
Things I Do & Don't Do
At a MOPS meeting recently, a friend mentioned something she had learned once from a speaker: Make a list of things you do and things you don't do.
I love this idea! There are so many things that I try to do because I feel pressured to do them - - whether it's pressure from myself, my friends, Pinterest, Facebook, whatever! But the things I do because I feel pressured to do them get in the way of the things that I want to do that I'm actually good at and want to make a priority! So here's my list - - or at least a preliminary list. The things in red are things I am trying to do (or not to do) - - goals. :)
It is a priority of mine to support and respect my husband.
It is a priority of mine to be the best minister I can be.
I love this idea! There are so many things that I try to do because I feel pressured to do them - - whether it's pressure from myself, my friends, Pinterest, Facebook, whatever! But the things I do because I feel pressured to do them get in the way of the things that I want to do that I'm actually good at and want to make a priority! So here's my list - - or at least a preliminary list. The things in red are things I am trying to do (or not to do) - - goals. :)
It is a priority of mine to support and respect my husband.
- I make his lunch whenever I can
- I ask him about his day
- I pray for him throughout the day
- I touch him, and let him touch me
- I look my best when he walks in the door
- I greet him with a smile
- I don't play with the kids 30 minutes before hubby gets home, to give myself time to get ready for him
- I don't wear provocative clothing (in public), to respect the fact that I am his and his alone
- I don't always clean the dishes after dinner, to make time for us and to have energy for him
- I make homemade dinners at least 4 times a week
- I teach my kids to pray before meals and before bed
- I pray for my kids and my husband
- I get up when my kids get up
- I keep the house manageably clean
- I prioritize Fridays as family days
- I don't fight with my husband in front of the kids
- I don't make homemade bread, because I've tried and I'm bad at it
- I don't breastfeed (anymore), because I was giving my boys the worst of myself when I felt tied down with breastfeeding
- I don't swear, because I don't want my boys to
- I don't let just anyone watch my boys, because not everyone has the same values that I do
- I don't listen to whining, because I want my boys to know how to communicate effectively
{This list could be longer - - of things I do and things I don't do - - but I'll stop there, and won't get on my soap box at this time about how I mother my kids. You're welcome.}
It is a priority of mine to be the best minister I can be.
- I go in to the church early on Sundays
- I pray before starting curriculum
- I work hard on my church duties when I'm at church, and often during nap time at home
- I make an effort to keep in touch with people from church throughout the week
- I pray for my volunteers
- I don't tell you I'll pray for you when I won't, because prayer is powerful and if you think I'm praying for you it's important that I am
- I don't stay late on Sundays very often, because everyone deserves to get the very best of me and I've been there since 6:30am
- I get the sunlight I need whenever possible
- I eat at least two meals a day
- I connect with my accountability partner weekly
- I buy myself clothes when I need them
- I rest during nap time
- I get some sort of salon procedure done once a month (i.e. pedicure, waxing, etc.)
- I eat as much chocolate as I want
- I exercise
- I get fresh air
- I spend time alone or with friends, out of the house and away from the kids
- I keep myself clean (spit-up, drool, poop, etc. doesn't stay on me)
- I don't do most crafts I find on Pinterest, because they frustrate me and take up all my alone time
- I don't do any housework (except laundry) during nap time, to give myself time to relax
- I don't run very many errands with the boys, because it exhausts me and so I have things to do outside the house after hubby gets home
Monday, March 24, 2014
Giving a Meal
When I first signed up to bring a meal to a family in need, I really didn't know what I was doing. All I knew was that I wanted to help! After the Peanut was born, though, several people brought meals to me, which really helped me see the best ways to do it. I thought I'd share some suggestions here, in case you're wanting to help out a friend by bringing them a meal!
Meals are a great gift for people who are going through a difficult time (death of a family member, someone in the hospital, etc.) or who are facing a major life change (having a baby, for example). It's a wonderful way to bless someone! And it's such a blessing to give someone a meal.
Here are my suggestions when bringing someone a meal {and then I'll give you an example of a meal I gave - - you can copy mine or make your own!}:
Know about any allergies or dietary restrictions
It would be terrible to make a meatloaf for a vegetarian, or tuna noodle casserole for someone who doesn't like fish! Find out if there are any allergies or other dietary restriction in the family before you plan your meal. It will save everyone a lot of grief.
Be on time
...and coordinate a time! Find out when the family usually eats dinner, and have the meal to them on time. If it's something they'll have to pop in the oven (which I recommend), make sure they have enough time to preheat the oven and bake your meal before their normal meal time. If you are running late, call and let them know when you'll be there so they don't have the little ones strapped into their high chairs for 30 minutes promising them food that is coming (yes, this has happened to me!). If you are notoriously a late person, you could always deliver a meal early to go into the fridge or freezer for that evening or another day!
Include all of the food groups
Grain, Meat, Veggie, Fruit, and of course a dessert!
Double what you're making for your family
This is the best way I've found to give someone a meal. Make double of what you're making for your family, and bring it over before dinner time (or the next day, if it'll keep). It's so much easier than making an extra meal on top of what you are eating!
The meal I most recently gifted was ziti, salad, bread, and brownies for a family of 4 plus an infant. I made a large ziti for their family (9X13), which I actually ended up thinking might have been a little too much food for them, and a smaller one for us (8X8). I have shared the recipes for the ziti and the brownies before. A bagged salad and a pre-sliced loaf of bread made this meal complete!
I was also sure to label everything that I made - - and I wrote instructions on the ziti of how to bake.
There you have it! Happy giving!
Meals are a great gift for people who are going through a difficult time (death of a family member, someone in the hospital, etc.) or who are facing a major life change (having a baby, for example). It's a wonderful way to bless someone! And it's such a blessing to give someone a meal.
Here are my suggestions when bringing someone a meal {and then I'll give you an example of a meal I gave - - you can copy mine or make your own!}:
Know about any allergies or dietary restrictions
It would be terrible to make a meatloaf for a vegetarian, or tuna noodle casserole for someone who doesn't like fish! Find out if there are any allergies or other dietary restriction in the family before you plan your meal. It will save everyone a lot of grief.
Be on time
...and coordinate a time! Find out when the family usually eats dinner, and have the meal to them on time. If it's something they'll have to pop in the oven (which I recommend), make sure they have enough time to preheat the oven and bake your meal before their normal meal time. If you are running late, call and let them know when you'll be there so they don't have the little ones strapped into their high chairs for 30 minutes promising them food that is coming (yes, this has happened to me!). If you are notoriously a late person, you could always deliver a meal early to go into the fridge or freezer for that evening or another day!
Include all of the food groups
Grain, Meat, Veggie, Fruit, and of course a dessert!
Double what you're making for your family
This is the best way I've found to give someone a meal. Make double of what you're making for your family, and bring it over before dinner time (or the next day, if it'll keep). It's so much easier than making an extra meal on top of what you are eating!
The meal I most recently gifted was ziti, salad, bread, and brownies for a family of 4 plus an infant. I made a large ziti for their family (9X13), which I actually ended up thinking might have been a little too much food for them, and a smaller one for us (8X8). I have shared the recipes for the ziti and the brownies before. A bagged salad and a pre-sliced loaf of bread made this meal complete!
I was also sure to label everything that I made - - and I wrote instructions on the ziti of how to bake.
Then I bagged everything up (the ziti didn't fit) and headed over! Notice everything was in containers that nobody would expect to have to return. Not even cheap tupperware - - it gives a new mother or someone going through a tough time an extra step: dishes. Ideally, if they wanted to, they could bake this, use paper or plastic dishes and silverware and not have any clean-up afterwards!
There you have it! Happy giving!
Labels:
Food,
Giving,
Kitchen Tips,
Recipe,
Riches,
Stewardship,
Thankful
Thursday, March 13, 2014
10 Reasons why I love NOT Owning a House
Sometimes it's hard looking into the future and not knowing when we'll be able to buy a house. So it helps to look at all the things we love about renting, and to enjoy it while we can! Because once we buy a house, none of these things will ring true - - probably ever again!
#1 - I feel safe
When I hear the neighbors next door, it makes me feel safe knowing that someone is there. If I screamed, they'd hear. When I hear a noise in the apartment, I can convince myself that it was the neighbors and not get freaked out.
#2 - It's less work
When something breaks, we don't have to fix it! One call to maintenance and they're here unplugging the toilet, replacing the window lock, putting new batteries in the smoke detector (yes, I've called them to do this), or even installing our window air conditioner (all things we've actually had them do within the past year)!
#3 - It's less expensive
When something breaks, we don't have to pay for it (unless we broke it because of misuse, of course).
#4 - It's less expensive
We don't pay property taxes.
#5 - Did I mention it's less expensive??
Rent is significantly cheaper than a mortgage - - AND we're not in debt because of a house! We're not paying interest each month, we're just paying to live here.
#6 - It forces us to simplify
Because we don't have much storage space, we don't have much stuff! When we don't have room for something in the storage area, we have to get rid of something. And I love it when that happens - - because it makes us think about how we might be able to bless someone even when we don't have much ourselves! Baby clothes, furniture, DVDs, and games are all something that other people might be able to use that we just don't have the space for.
#7 - It's easier to clean
Smaller space means less time cleaning! AND I don't have to worry about cleaning/painting the outside of our home, because that's done for us!
#8 - It's more sociable
When I go to get the mail, I run into my neighbors because we share a mailbox. When my son plays in the back yard, he makes friends because we share a backyard with our neighbors. It's much easier to get to know each other than if we had our own house.
#9 - There are rules
I know this may seem like a reason to want a house, and sometimes it is - - but I think that the rules put in place can actually be beneficial for our family. For example, there's a no smoking in the apartments rule. Now, we're not smokers - - and we don't plan to be. But even if we wanted to, we'd have to take it outside. In the dead of winter? No thanks! There's also a no pets rule. By now we would have adopted a dog. Trust me - - we don't need a dog right now. Thank you, rules!
#10 - It will make me appreciate having a house even more when we get there
Right now is not the right time for us to own a house. And that's okay! The time we spend renting is preparing us for what's ahead. I'm glad we are where we are right now, and I'm glad we're headed where we're headed!
Labels:
Cleaning,
Encouragement,
Rags,
Riches,
Stewardship,
Thankful
Monday, September 16, 2013
Waiting
I heard a statistic a long time ago about how long the average person spends in their life waiting for something. If you Google it, you'll get all kinds of different answers. Ask.com said that the average person spends 2 weeks waiting at red lights... then if you scroll down you'll see they also say 8 years for the same statistic. Who knows? All I know is it's a long time.
AnYwAyS... when I first heard whichever statistic I heard, I made a decision that I would never waste time waiting for something again. I would always have something to do while I wait, whether it be homework (at the time I was in high school), memorizing scripture, ding a Sudoku puzzle... anything other than sitting around and waiting.
And yet here I sit, ten years later... waiting... for hubby to get home, for another life on Candy Crush, for the baby to come, for some clarity as to what I am to do with my life, for the baby to kick so I know that everything is still okay...
But perhaps waiting isn't the worst thing in the world? Maybe it's while I wait that I have the time to relax, and start to hear the voice of God more clearly? Maybe what I am willing to wait for says something about who I am. Maybe waiting helps me to trust in God in a whole new way.
So I'll wait. Maybe it won't always be patiently, but I will know that as I wait the Lord is working in me.
Labels:
Christianity,
Encouragement,
Hubby,
Riches,
Stewardship
Friday, March 29, 2013
Easter Gifts for Childcare Workers
At my church, the nursery is almost always open - - something I am very grateful for, as the mother of a 14-month-old who loves to move around and talk (loudly) during service.
I wanted to give the nursery workers a small gift of appreciation for their dedication to helping young families like ours enjoy the services on Easter. I have no money, and I am not very crafty. This is what I came up with (and I'm a little proud of them!).
Cookies in baggies - - cost me no money because I had all the ingredients on hand... and the baggies as well. I was tempted to run to the store and grab some (off-budget) cuter bags, but I resisted.
Those little flowers I have had in my crafting box for a long time now. Same with the cardstock.
What are you doing for the childcare workers at your church this Easter? Did this post inspire you? Leave me some love!
Labels:
Christianity,
Church,
Crafty,
Easter,
Encouragement,
Family,
Love Bug,
Rags,
Stewardship
Monday, March 18, 2013
A Tribute to my new Kindle Fire
I have been wanting a tablet for a long time now - - specifically, I have been wanting an ipad. Hubby kept telling me that ipads were too expensive (which of course is true) and that another tablet would be just as good (which I couldn't bring myself to believe).
When I was at Best Buy (after carefully planning out our budget and waiting for the right time to buy a tablet), I spoke with a representative and he told me that if I bought an outdated ipad (the only kind of ipad I could afford), in a few years I wouldn't be able to update the software because of how Apple products are. Apparently they come up with new products and leave their old products in the dust. Um, no thank you!
So I looked around at all the tablets they had in the store and I decided on the Kindle Fire. Got an OtterBox for it so the Love Bug can't destroy it and I am so happy!!
What kind of tablet did you buy? How did you make your decision? Leave some comment love!
When I was at Best Buy (after carefully planning out our budget and waiting for the right time to buy a tablet), I spoke with a representative and he told me that if I bought an outdated ipad (the only kind of ipad I could afford), in a few years I wouldn't be able to update the software because of how Apple products are. Apparently they come up with new products and leave their old products in the dust. Um, no thank you!
So I looked around at all the tablets they had in the store and I decided on the Kindle Fire. Got an OtterBox for it so the Love Bug can't destroy it and I am so happy!!
What kind of tablet did you buy? How did you make your decision? Leave some comment love!
Tuesday, March 12, 2013
Chocolate Cake with Chocolate Frosting
We celebrated my hubby's birthday last night!! I am so excited that he's turning 25 (and even more excited that I'm not the one turning 25 yet). I've known my love since freshman year of college when he was 17, we've been best friends since December of that same year, and we've been dating since he was almost 19. I married him when he was 21 and to celebrate his 25th with him is an extra special gift. He wanted chocolate cake with chocolate frosting. Although that's not what I would have chosen, - - when it comes to cake, I'm a vanilla girl - - he gets whatever he wants today!!
Here's the recipe. I got it from a friend who got it from her mother-in-law. I don't know where she got it, so if it's yours, let me know and I'll credit you! It's called Black Magic Cake, and I have to say it's delicious!! Usually it goes with a peanut butter frosting that is to die for, but hubby wanted chocolate!
Ingredients You'll Need:
1 cup sugar
1 cup flour
3 Tablespoons cocoa
1 teaspoon baking powder
3 Tablespoons oil
1/2 teaspoon salt
1 egg
1 teaspoon vanilla
1 cup boiling water
1 teaspoon baking soda
**Preheat oven to 350°F (I always forget to do this before I start baking...)
Step One: Combine first 8 ingredients
Pour into a bowl the first 8 ingredients above (1 cup sugar through 1 teaspoon vanilla). No need to mix them yet.
Step Two: Dissolve 1 teaspoon baking soda in 1 cup boiling water
Do just that - - I put the baking soda in the measuring cup and then add the water and stir a bit. It should dissolve itself for the most part.
Step Three: Mix together all ingredients
Pour the water mixture over the rest of the ingredients in the bowl, then beat the mixture until smooth. The batter will be very runny!
Step Four: Pour into greased pan and bake
Remember, the batter will be very runny. That's how it's supposed to be, don't worry! Grease an 8X8 pan and bake at 350°F for 25 minutes. I had to put mine in for an extra 3 minutes. Use a toothpick in the center and if it comes out clean, you're all set!
When it comes out, it should look like this:
Let the cake cool for at least one hour before frosting. Put it on a wire rack so it really cools all the way through. If you skip this step or try to rush it, the frosting will run off.
Step Six: Frost
Use a knife (or, if you're super-crafty, a pastry squeezy thing) and frost that baby with your favorite frosting. I used a homemade frosting.
Step Seven: Decorate!
I used M&Ms to cover the cake, starting with the sides.
The top didn't come out exactly like I imagined it, but it still wowed my hubby! I guess that's what I was going for all along :)
Step Eight: Hide it!
Step Nine: Enjoy!!
I think this was the Love Bug's first taste of cake! He finished his first (big surprise).
Monday, February 18, 2013
Card Table Makeover!
We have a card table that belonged to my late grandmother. Well, it's pretty old - - and has some scratches in it. I like having a card table, but I really would like it to look nicer. I was putsing around on Pinterest and I found this craft idea! The original idea came from The Bearded Family's blog. Here's what I did with mine!
What you'll need
- Card Table
- Vinyl Tablecloth
- Staple Gun (and Staples)
- Scissors
- Flathead Screwdriver
- A big open space (the floor works)
Pull out the legs and flip! Can you do that? If so, you can do the rest of this project... trust me, it's super easy!
Step Two - - Take out the screws
Don't let the screws scare you! They're not difficult to get out with just a regular screwdriver. Dig through your hubby's tool box and find a flat head screwdriver (looks just like it sounds). Turn the screw counter-clockwise. Righty-Tighty, Lefty-Loosey!
Step Three - - Take off the frame
Cool, huh? Be sure not to lose those screws!
Step Four - - Lay out your tablecloth
I bought my tablecloth for super cheap at Walmart... also check the Christmas Tree Shoppe!
Step Five - - Staple while pulling tight
This is the trickiest part of the whole process. You want to staple the edges of your tablecloth right next to where the original tabletop was stapled. I used a normal paper stapler, and it was difficult. Not all the staples held, and I tried hammering them in but that didn't always work either. I would have used a staple gun, but I couldn't find staples that were short enough to not go through the whole table.
Start at the edge of your table, not at a corner. Go all the way along the edge with your stapler.

I went from stapling one edge to stapling the adjacent edge (skipping corners - - I saved those for last). This worked well when it came to pulling the tablecloth tight. You don't want any wrinkles!!
To do the corners, what you want to do is start at the very edge of the corner and pull the cloth tight with one hand while you staple with the other.
When you have that first staple in, make a cut next to the staple (not too close, and not too far). This will allow you to pull the middle of your corner straight without creating layers that a normal stapler can't go through.
Next, pull tight and staple again right in the middle of your corner.
Then you'll make another cut.
Staple the last end of the tablecloth. Cut off the excess cloth. Don't cut too close to the staples that you have made. You might also want to put in some more staples around the corner.
Step Six - - Reattach the frame
If you took it off, you can put it back on! Screw clockwise this time (righty-tighty).
You're done! How did it turn out? Send me a picture, leave a comment!

Friday, February 15, 2013
Daily Bread Box
I don't know what gave me the idea for this box - - though I can't imagine it's an original idea. I have been having trouble spending daily time in God's Word, and as I was thinking about how I wanted to arrange our new apartment, I came up with this idea!
God's Word is supposed to be our daily bread - - meaning His Word is what fills us up, and we need it every day. I need to get better at this, so I came up with the daily bread box. The little box that clementines come in is how I started. When we had finished eating up those yummy clementines, I got to work decorating my box!
The theme in my new kitchen is quilting. I made this utensil canister at my beloved Splatters Studio, and that is what I am creating my kitchen based off of.
To make your Daily Bread Box, you'll need:
- Empty Clementine Box
- Scrapbooking paper
- Mod Podge
- Paint Brush
- Newspaper
- Staple Remover (Scissors work, too)
- A space away from any kiddos
Step One - - Remove Staples
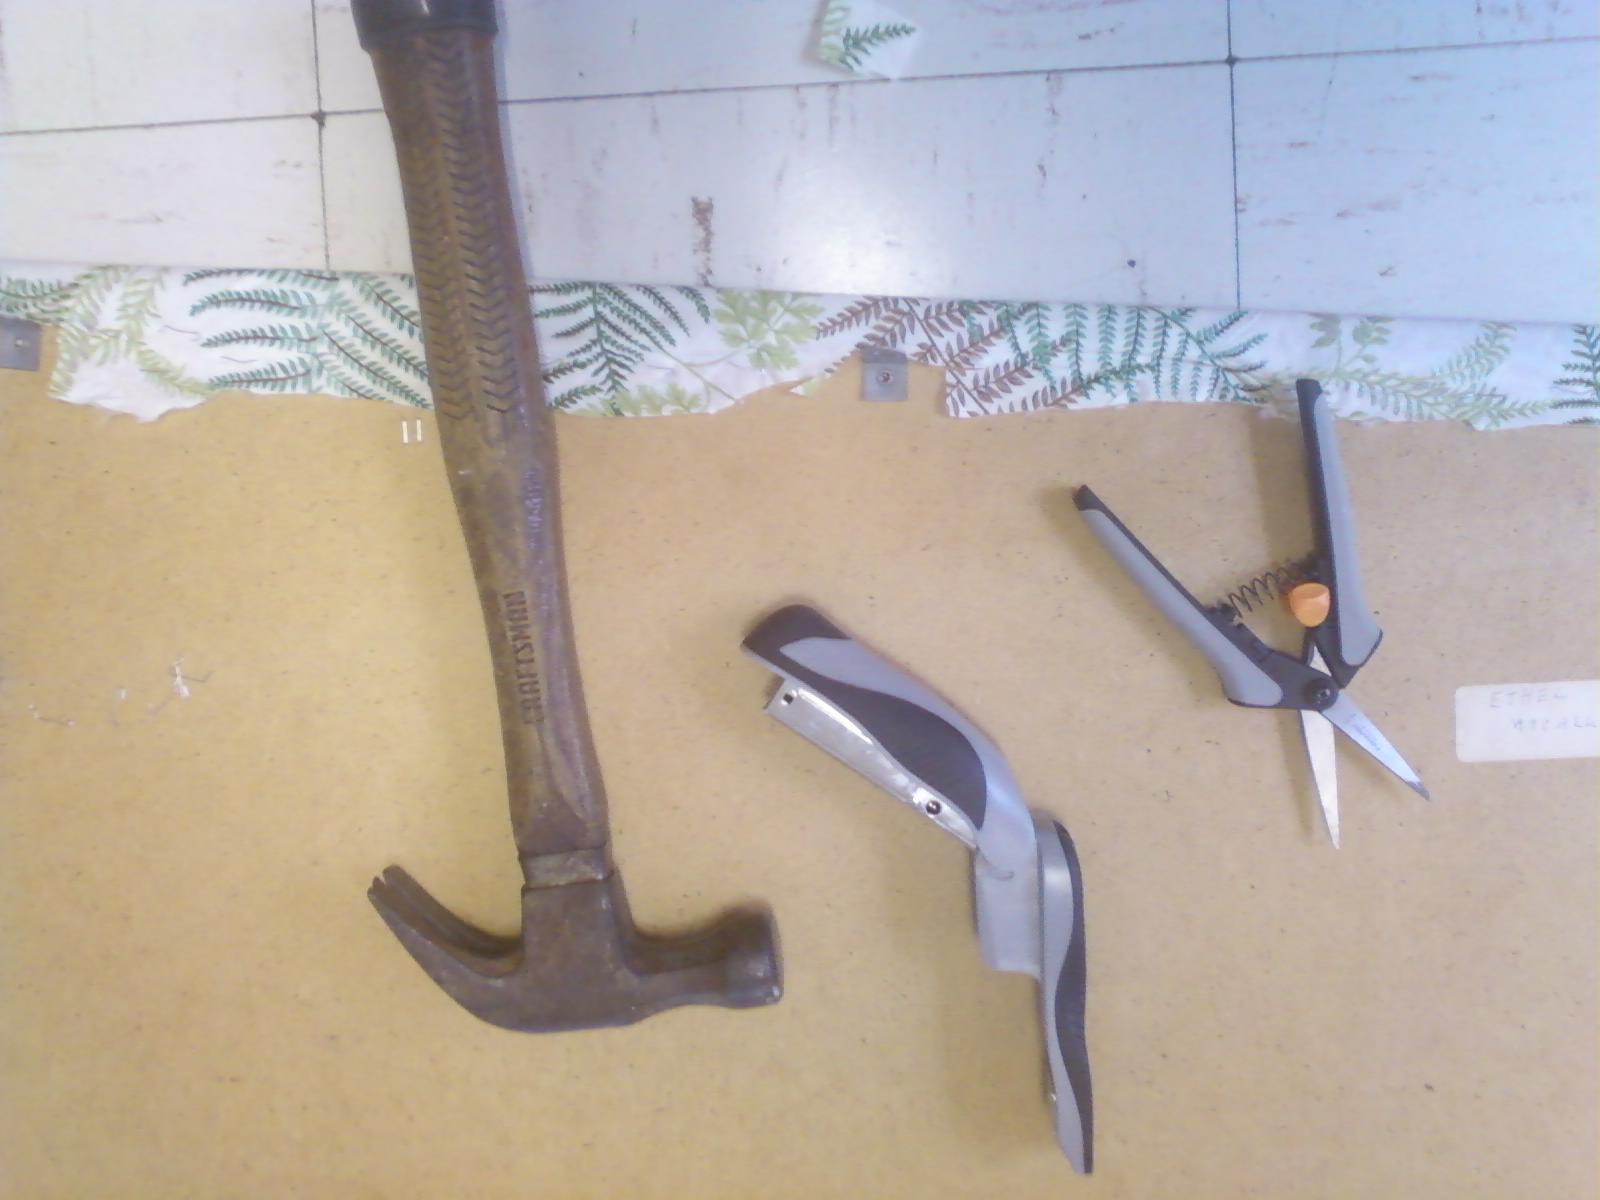
The first thing to do is to get those extra staples out of your box. It was a little difficult just using scissors, but I managed to get all of them! Be careful as you do this to not take out the staples that are actually holding the box together.
Step Two - - Mod Podge
After all your staples are out, you can start in with your Mod Podge! You'll want your paper cut out beforehand so that your Mod Podge doesn't dry out as you're cutting.
How To Mod Podge:
Mini-Step One - - Glob the stuff on surface
Put a nice glob of Mod Podge all over the surface, as big as your first piece of paper that you are gluing down.
Mini-Step Two - - Place paper on the Mod Podge
Place your paper on the Mod Podge. You'll want to smooth it out so that there are no air bubbles underneath it, and so your paper is tight against the surface of your craft.
Mini-Step Three - - Paint Mod Podge over the paper
Mod Podge is glue that you put under and on top of your paper. It will make the surface smooth and glossy.
Step Three - - Let Dry
This is an important step. Give your Daily Bread Box plenty of time to dry. If you touch it before it completely dries, you'll be left with paper shreds coming off of the area you touched.
Step Four - - Fabric Paint
I used fabric paint to create stitching on my box (quilting theme). I also used it to write Daily Bread Box on it!
This craft could totally be done many different ways. I can imagine that staining the wood would look very cool, or you could even go more primitive and paint it. If you make a Daily Bread Box and do it differently, send me the link and I'll link it here in my post!!
Happy Crafting!
Subscribe to:
Posts (Atom)


