Thursday, March 21, 2013

7 Things that Every New Babysitter Should Know

We recently had a newbie babysitter watching our little love bug while we went out for a class in town.  She had watched him a few times at her house, under the "supervision" of her parents.  We were so excited to help this young lady out as she learned how to babysit.

I have been thinking a lot about my first babysitting experiences lately.  I started babysitting quite young.  When I started babysitting, I had already gained a lot of experience working with kids through my church.  There were a lot of things that I didn't know, though.  Here is a list of 10 things that every new babysitter should know - - from a new mom who started babysitting very young.


#7 - - Just because a child can crawl or walk doesn't mean s/he can get down from the couch or bed
Never leave a very young child unattended on the couch or bed.  If the child sleeps in a bed rather than a crib, you should be good.

#6 - - If you wouldn't call the parents to ask them, don't text them.
Although parents will tell you that you can text or call about anything, they don't want you to unless you really need to.  If you want to text them something positive, that's another story!  Especially if it's your first time babysitting for the family or if you had to pry the child off of mom's leg, text a picture of their child smiling!  Don't text the parents if it's not important enough for you to call them.  You will be interrupting their night out which they are paying you for.

#5 - - Sometimes it takes an hour or more to put a child to bed.
Don't be surprised if your first time babysitting it takes a very long time to get the child to go to sleep.  Try a variety of techniques, and make sure that you know the child's normal routine.  Remember that the first time you put a child to bed will set the stage for the rest of your babysitting visits.  Stand your ground - - bedtime means bedtime.

#4 - - Always clean up after yourself!!
This is a big one.  If you want to disappoint the parent, leave all the dishes in the sink and toys all over the floor.  If you want to impress the parent, do all the dishes and have everything cleaner than it was when you came!  Somewhere in between there is what you should always be doing, though - at least rinse the dishes that you used, and clean up the toys that the kids played with while you were there.

#3 - - Get back to the parents in a timely manner
When the parents text/call/email you, always get back to them as soon as you possibly can.  It's fine to ask your parents before you respond, but do it ASAP.  The parents of the kids that you babysit should never have to ask your parents anything for you.

#2 - - It's okay to tell the parents what you charge per hour
If you're a beginner babysitter, start out around $3/hour.  You can charge a different amount for each family for which you babysit based on how many kids they have and the ages.  Don't go over $5/hour, though.  We pay the babysitter that just started babysitting $3/hr and we pay the more experienced, college-aged babysitter $5/hr to watch our one-year-old son.

...and the #1 thing you need to know...

#1 - - Have fun!!


Monday, March 18, 2013

A Tribute to my new Kindle Fire

I have been wanting a tablet for a long time now - - specifically, I have been wanting an ipad.  Hubby kept telling me that ipads were too expensive (which of course is true) and that another tablet would be just as good (which I couldn't bring myself to believe).

When I was at Best Buy (after carefully planning out our budget and waiting for the right time to buy a tablet), I spoke with a representative and he told me that if I bought an outdated ipad (the only kind of ipad I could afford), in a few years I wouldn't be able to update the software because of how Apple products are.  Apparently they come up with new products and leave their old products in the dust.  Um, no thank you!

So I looked around at all the tablets they had in the store and I decided on the Kindle Fire.  Got an OtterBox for it so the Love Bug can't destroy it and I am so happy!!

What kind of tablet did you buy?  How did you make your decision?  Leave some comment love!

Tuesday, March 12, 2013

Chocolate Cake with Chocolate Frosting


We celebrated my hubby's birthday last night!!  I am so excited that he's turning 25 (and even more excited that I'm not the one turning 25 yet).  I've known my love since freshman year of college when he was 17, we've been best friends since December of that same year, and we've been dating since he was almost 19.  I married him when he was 21 and to celebrate his 25th with him is an extra special gift.  He wanted chocolate cake with chocolate frosting.  Although that's not what I would have chosen, - - when it comes to cake, I'm a vanilla girl - - he gets whatever he wants today!!

Here's the recipe.  I got it from a friend who got it from her mother-in-law.  I don't know where she got it, so if it's yours, let me know and I'll credit you!  It's called Black Magic Cake, and I have to say it's delicious!!  Usually it goes with a peanut butter frosting that is to die for, but hubby wanted chocolate!

Ingredients You'll Need:
1 cup sugar
1 cup flour
3 Tablespoons cocoa
1 teaspoon baking powder
3 Tablespoons oil
1/2 teaspoon salt
1 egg
1 teaspoon vanilla
1 cup boiling water
1 teaspoon baking soda


**Preheat oven to 350°F (I always forget to do this before I start baking...)

Step One: Combine first 8 ingredients

Pour into a bowl the first 8 ingredients above (1 cup sugar through 1 teaspoon vanilla).  No need to mix them yet.

Step Two: Dissolve 1 teaspoon baking soda in 1 cup boiling water

Do just that - - I put the baking soda in the measuring cup and then add the water and stir a bit.  It should dissolve itself for the most part.

Step Three: Mix together all ingredients

Pour the water mixture over the rest of the ingredients in the bowl, then beat the mixture until smooth.  The batter will be very runny!

Step Four: Pour into greased pan and bake

Remember, the batter will be very runny.  That's how it's supposed to be, don't worry!  Grease an 8X8 pan and bake at 350°F for 25 minutes.  I had to put mine in for an extra 3 minutes.  Use a toothpick in the center and if it comes out clean, you're all set!

When it comes out, it should look like this:
 
Step Five: Let cool

Let the cake cool for at least one hour before frosting.  Put it on a wire rack so it really cools all the way through.  If you skip this step or try to rush it, the frosting will run off.

Step Six: Frost
 

Use a knife (or, if you're super-crafty, a pastry squeezy thing) and frost that baby with your favorite frosting.  I used a homemade frosting.

Step Seven: Decorate!
 
I used M&Ms to cover the cake, starting with the sides.
 
 
The top didn't come out exactly like I imagined it, but it still wowed my hubby!  I guess that's what I was going for all along :)
 
Step Eight: Hide it!
 
Tip: a great place to hide things from your hubby: in the oven!

Step Nine: Enjoy!!
I think this was the Love Bug's first taste of cake!  He finished his first (big surprise).
 

Sunday, March 10, 2013

Devos - Tidbits

If you're following your devos with me, you should be reading somewhere around John 10, somewhere in the middle of James, and Proverbs 10.

Today is a really cool day for how the devos work out - - especially if you are starting over in the book of James.

This reading will bring us in to the beginning of meditations about Jesus' path to the cross.  Easter is on March 31 this year - - exactly 3 weeks from today.  As you go through the rest of the book of John, you will start to see Jesus willingly headed toward the cross to die for each of us.

John 10:14 "I am the good shepherd.  I know my sheep, and my sheep know me, just as the Father knows me, and I know the Father.  I give my life for the sheep."

We are the sheep.  If you want to dig a little deeper, listen to these sermons that my beloved pastor gave, and read Psalm 23.

Fearless (Pastor John Keller) - - he'll make one quick announcement that doesn't apply any more, then go in to the sermon.


Rest (Pastor Andy Sass) - - If you're only going to listen to one, choose this one!

Restore (Pastor Andy Sass) -

God's Thoughts (Pastor Andy Sass)

Friday, March 1, 2013

Devotions


Are you having a hard time getting into the habit of doing devotions?  Well, the first of the month is a great time to start!!

If you are a Christian and you have simply been having a hard time getting into God's Word, I highly recommend that you go through the following books of the Bible:

John
James
Proverbs
Let's take this one book at a time...

John
Open your Bible to John 1 and start reading.  When you feel you have gotten all you need out of it for the day, you stop reading.  In John this could be any amount from a few verses to three chapters.  It just depends on what God is speaking into your life each day.  When you come back tomorrow, you should be able to remember where you left off.  If you find yourself not paying attention to what you're reading, that's a clue that you should stop reading on John for that day.

You'll want to have finished John at least one time by the end of this month.  There are 21 chapters in John.  If you complete the whole book twice or more throughout the month, you're going too fast.  If you don't finish the book at all, you're going to slow.

James
After you read John, turn to James.  James was Jesus' half-brother.  He spent his childhood growing up with the Savior of the world.  This made him very wise.  James is my favorite book of the Bible.  You're going to do the same thing that you did with John, but you probably won't end up reading nearly as much of James each day.  Again, you should be able to come back the next day and remember where you left off.

You might go through James a few times this month.  When you finish the book, go back and start at the beginning.  You'll be surprised what different things God can say to you through the same book.

Proverbs
Proverbs is the last book that you'll read, and it has a specific amount that you will read.  There are 31 Proverbs - - perfect for going through them each month!!  So on the 1st of the month, you'll read Proverbs 1, on the 2nd you'll read the 2nd Proverb, and so on.  If you miss a day of devos, this is what will tell you.  Don't get discouraged, just read the Proverb that goes along with that day of the month - - even if it means that you have to skip a chapter.

When this month is over, check back here!  If I get a good response, I will keep up with giving you books of the Bible that will help you keep up with your devos.

Tuesday, February 19, 2013

If Only We Could Pay Our Hubbies

I recently wrote a post about what our paychecks would be as Stay-At-Home Moms.  It gave me the idea to write a post about how much our hubbies do outside of their punch-the-clock job.

I am so blessed to have a husband who cares about our family and loves being at home!  Unfortunately, he is not able to be at home nearly as much as either of us would like.  He works long hours and has a very long commute each day.  Thankfully he now has Saturdays and Sundays off, so he has a little more time to spend with our family!  I can't begin to express, to you or to him, how incredibly thankful I am for my husband!

I wish I could "pay" him for all that he does, but I know that he feels the same way I do when "working" at home - - that the work is its own reward.  Here is how I would like to pay my hubby...

Setting the table - - A peck on each cheek
Putting our son down for bed - - Tickle Fight!!
Planning a date - - :x ;)
Clearing the table - - A big bear hug
Playing with our son - - A night of cuddling
Doing Dishes - - One long kiss
Doing anything off of his honey-do list - - A romantic kiss for each minute it takes him
Helping me in the kitchen - - A good old fashioned flour fight!


What does your hubby do that lets you know he cares about your family?

Monday, February 18, 2013

Card Table Makeover!


We have a card table that belonged to my late grandmother.  Well, it's pretty old - - and has some scratches in it.  I like having a card table, but I really would like it to look nicer.  I was putsing around on Pinterest and I found this craft idea!  The original idea came from The Bearded Family's blog.  Here's what I did with mine!

What you'll need
  • Card Table
  • Vinyl Tablecloth
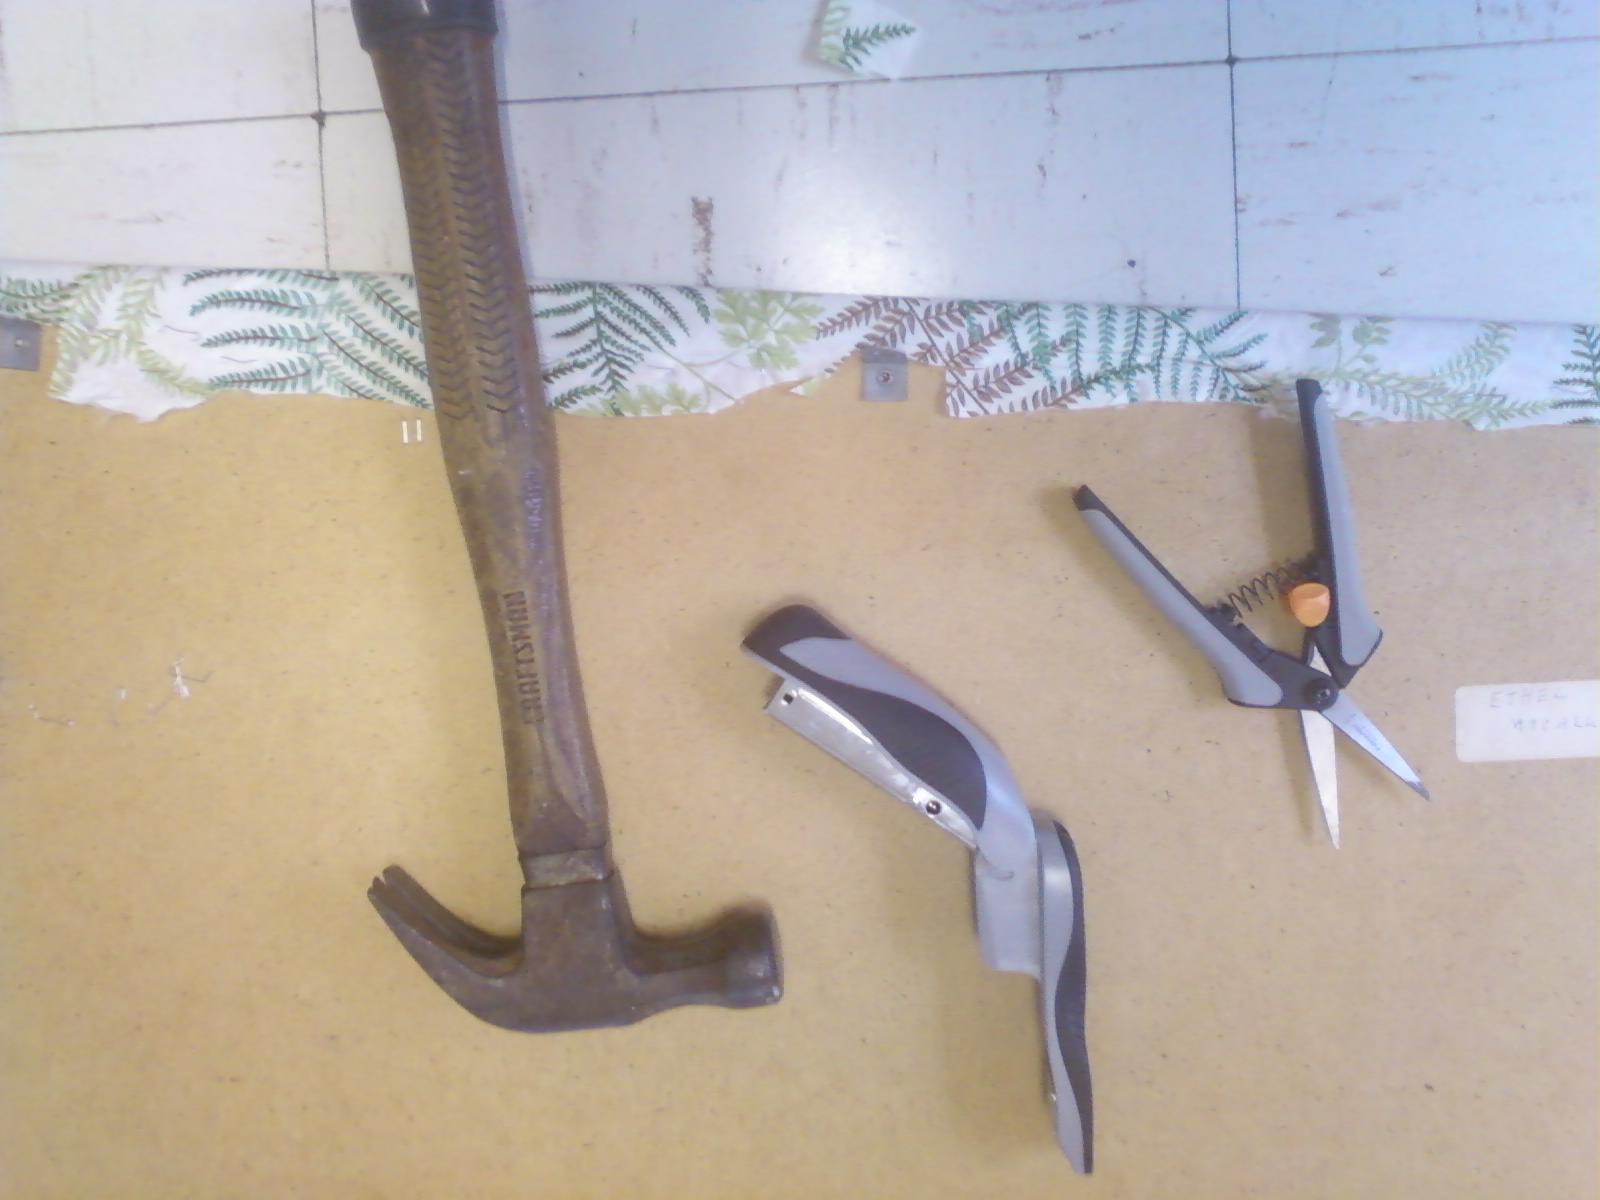
  • Staple Gun (and Staples)
  • Scissors
  • Flathead Screwdriver
  • A big open space (the floor works)
Step One - - Flip the Table
Pull out the legs and flip!  Can you do that?  If so, you can do the rest of this project... trust me, it's super easy!

Step Two - - Take out the screws
Don't let the screws scare you!  They're not difficult to get out with just a regular screwdriver.  Dig through your hubby's tool box and find a flat head screwdriver (looks just like it sounds).  Turn the screw counter-clockwise.  Righty-Tighty, Lefty-Loosey!

Step Three - - Take off the frame
Cool, huh?  Be sure not to lose those screws!

Step Four - - Lay out your tablecloth
I bought my tablecloth for super cheap at Walmart... also check the Christmas Tree Shoppe!
 
Lay the tablecloth on the floor face-down (because you want the design to show when you're done).  Place your table top face-down on top of that.  Make the tablecloth as flat as possible.

Step Five - - Staple while pulling tight

This is the trickiest part of the whole process.  You want to staple the edges of your tablecloth right next to where the original tabletop was stapled.  I used a normal paper stapler, and it was difficult.  Not all the staples held, and I tried hammering them in but that didn't always work either.  I would have used a staple gun, but I couldn't find staples that were short enough to not go through the whole table.

Start at the edge of your table, not at a corner.  Go all the way along the edge with your stapler.


I went from stapling one edge to stapling the adjacent edge (skipping corners - - I saved those for last).  This worked well when it came to pulling the tablecloth tight.  You don't want any wrinkles!!

To do the corners, what you want to do is start at the very edge of the corner and pull the cloth tight with one hand while you staple with the other.


When you have that first staple in, make a cut next to the staple (not too close, and not too far).  This will allow you to pull the middle of your corner straight without creating layers that a normal stapler can't go through.

Next, pull tight and staple again right in the middle of your corner.

 
Then you'll make another cut.
 
Staple the last end of the tablecloth.  Cut off the excess cloth.  Don't cut too close to the staples that you have made.  You might also want to put in some more staples around the corner.

Step Six - - Reattach the frame

If you took it off, you can put it back on!  Screw clockwise this time (righty-tighty).

You're done!  How did it turn out?  Send me a picture, leave a comment!